Installing a new floor can completely transform the look and feel of your home. Whether you’re upgrading to hardwood, vinyl, laminate, or tile, understanding the step-by-step floor installation process is crucial to ensure durability and a polished finish. If you’re new to this, don’t worry—this beginner’s guide will walk you through the essentials and help you achieve professional-looking results.
When it comes to quality results, many homeowners consider working with experts in floor installation in Twin Falls, ID to avoid costly mistakes and save time. Let’s dive into the process so you know exactly what to expect.
Step 1: Choosing the Right Flooring Material
The first step in the floor installation journey is selecting the right material for your home. Some of the most popular options include:
Hardwood: Classic and elegant, suitable for living rooms and bedrooms.
Laminate: Affordable, durable, and comes in a variety of styles.
Vinyl: Water-resistant and ideal for kitchens and bathrooms.
Tile: Strong, stylish, and easy to clean.
Each material requires slightly different installation techniques, so research carefully before you begin or consult with a professional team specializing in floor installation in Twin Falls, ID.
Step 2: Measuring the Space
Accurate measurements are the backbone of successful floor installation. Measure the length and width of each room and multiply them to calculate the square footage. Don’t forget to account for waste—typically, adding 10% extra material is recommended. This ensures you won’t run short during installation.
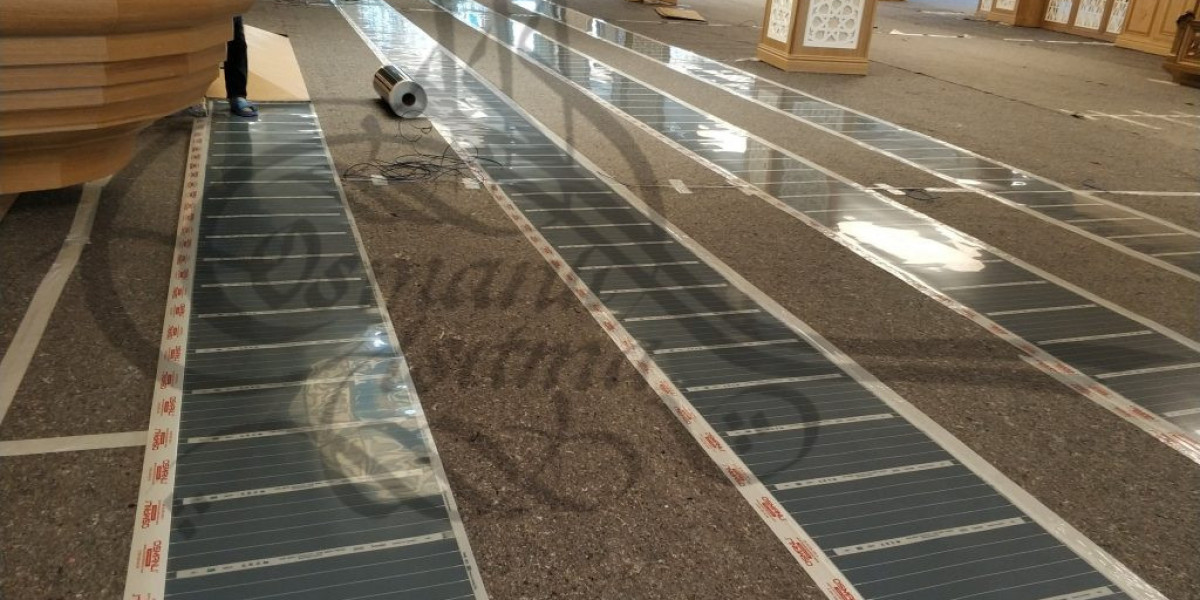
Step 3: Preparing the Subfloor
A smooth, level subfloor is critical for proper installation. Clean the area thoroughly, remove any debris, and fix uneven surfaces. For concrete subfloors, use a leveling compound if necessary. Wooden subfloors may require reinforcement or plywood sheets for stability.
Skipping this step can result in uneven flooring or long-term issues, which is why many homeowners prefer professional floor installation in Twin Falls, ID for expert preparation.
Step 4: Gathering Tools and Materials
Before installation, gather all the required tools:
Tape measure
Utility knife
Spacers
Rubber mallet
Chalk line
Saw (for cutting planks or tiles)
Having the right tools ensures a smoother process and prevents unnecessary delays.
Step 5: Acclimating the Flooring Material
Most flooring materials, especially hardwood and laminate, need time to adjust to the room’s temperature and humidity. Leave them in the room for at least 48 hours before installation. This prevents issues like warping or gaps later on.
Step 6: Laying the Flooring
Now comes the exciting part—installing the new floor.
Start in one corner: Lay the first row along the longest wall.
Use spacers: Maintain expansion gaps between the flooring and walls.
Stagger joints: For strength and aesthetics, avoid aligning joints in consecutive rows.
Lock or glue planks: Depending on the material, either click planks into place or use adhesive.
For beginners, this part can be challenging, which is why consulting experts in floor installation in Twin Falls, ID can make a big difference.
Step 7: Cutting and Fitting
At the edges of the room, you’ll need to cut flooring planks to fit. Always measure carefully and leave expansion gaps. Use a saw for precision cuts to avoid splintering or uneven edges.
Step 8: Adding Finishing Touches
Once all planks or tiles are installed, remove spacers and install baseboards or trim to cover expansion gaps. This gives your floor a polished, professional finish.
Step 9: Cleaning and Inspection
Clean the new flooring thoroughly to remove dust and debris. Inspect for gaps, uneven planks, or misaligned tiles. A proper inspection ensures long-lasting results.
Benefits of Professional Floor Installation
While DIY is possible, hiring professionals for floor installation in Twin Falls, ID offers many advantages:
Time-saving and efficient process
Expertise in handling complex areas
Access to professional tools and materials
Long-lasting results with warranties
Final Thoughts
Installing a floor may seem overwhelming at first, but with the right guidance and preparation, even beginners can achieve great results. However, for guaranteed durability and professional finishing, working with experts in floor installation in Twin Falls, ID is always a smart choice.
If you’re planning to upgrade your home’s flooring, trust MVB Construction Company to deliver exceptional results tailored to your needs. Their experienced team ensures every detail is handled with precision, giving your home the beauty and durability it deserves.